For information on the latest version, please have a look at GL013303.
1.3.3 Windows Environment (64-bit)
A. Install Required dependencies
Visual Studio 2019 or newer (Desktop Development with C++)
Git, CMake
Docker Desktop, Dart-Services, Dart Studio or Dart-Platform (for emulator)
B. Clone the DRFL repository
Check here about API-DRFL Repository
git clone https://github.com/doosan-robotics/API-DRFL.git
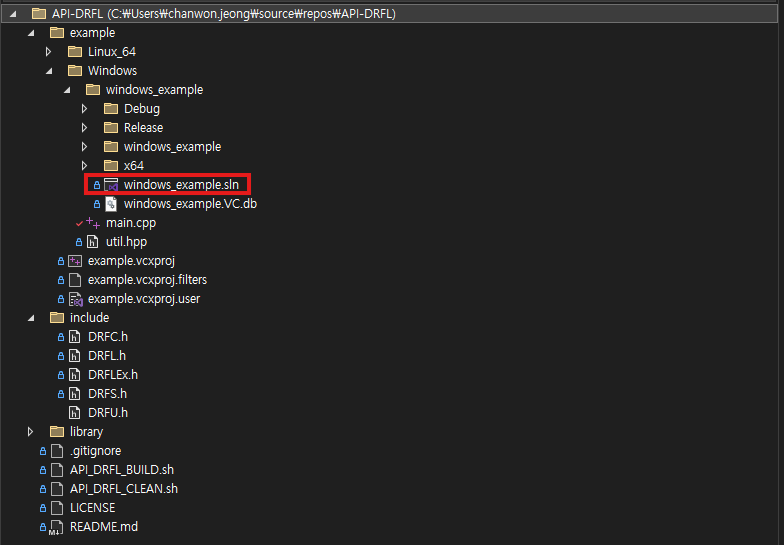
cd API-DRFL/example/Windows/windows_example
C. Open the provided Visual Studio solution
Check here about Windows Example Solution
D. Modify solution code for your development environment
Before building the project, you must modify the code for either the emulator or a real robot controller.
Emulator Connection
If you are using the DART Platform or DART Studio emulator,
the default IP address is 127.0.0.1 (localhost).
const std::string IP_ADDRESS = "127.0.0.1";
Real Robot Connection
Follow these steps:
Check the robot controller IP address
On the Teach Pendant (TP):
Settings → Network → Ethernet → IP address192.168.137.100
Connect your PC to the same network subnet
Set your PC’s static IP to the same range:
Control Panel → Network → Ethernet → Properties → IPv4IP Address: 192.168.137.100 Subnet Mask: 255.255.255.0
Modify the connection IP in code (if necessary)
In your source file:
const std::string IP_ADDRESS = "192.168.137.100";
Note
Recommended to use a wired LAN connection; ensure access to the controller/emulator port 12345/TCP.
If another client (e.g., DART Studio or TP) holds control, release it using:
ManageAccessControl(MANAGE_ACCESS_CONTROL_RELEASE)Only one API client can control the robot at a time.
Tip
To quickly check TCP connectivity without running code, you can use windows powershell:
ping 192.168.137.100
If you see a “Connected” message, the network connection is available.
E. Setup Docker
Before running or building the example project (windows_example.sln),
you must configure the Dart-Services simulator environment using Docker.
Run Dart-Services container
After installing Dart-Services or Dart-Platform, start the Docker service:
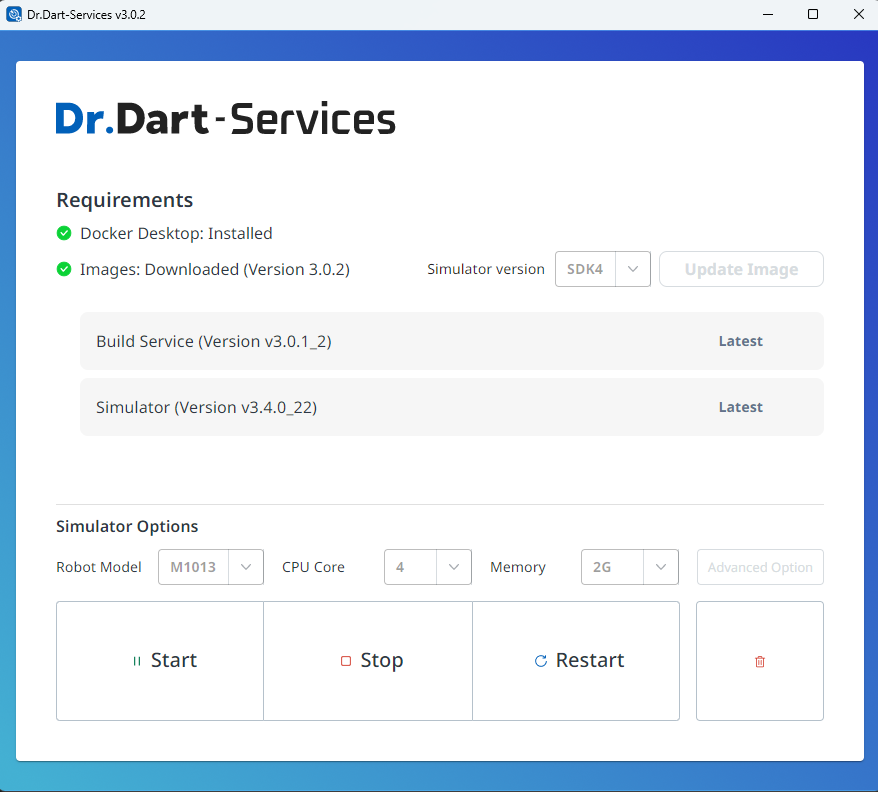
Dart-Services
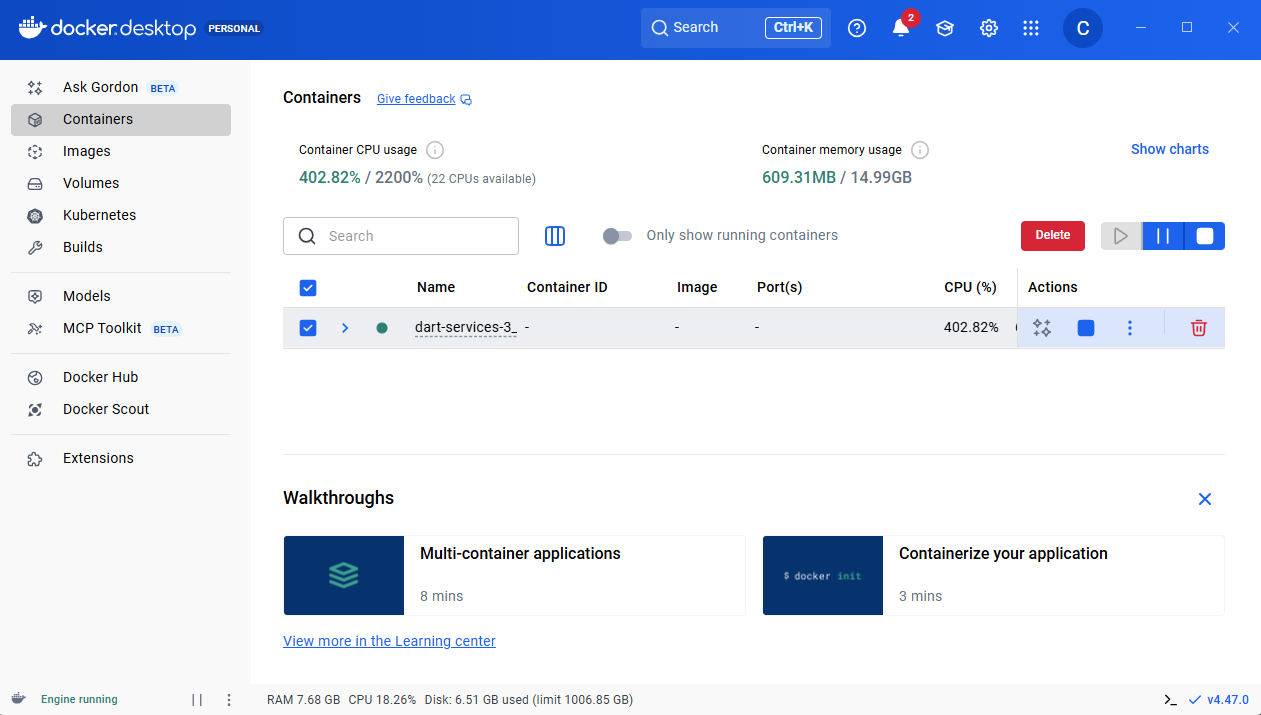
Docker desktop
Check that the dart-service image is running properly in the container list.
docker ps
You should see that the container exposes port 12345/TCP,
which is used for the API communication channel between the SDK and the simulator.
Example output:
CONTAINER ID   IMAGE             COMMAND             PORTS                     NAMES
3a1b2c3d4e5f   dart-service:3.4  "/bin/bash"         0.0.0.0:12345->12345/tcp  dart-service
Verify container network
Make sure that the container network is active and accessible:
docker inspect dart-service | grep "IPAddress"
If needed, confirm that the simulator is bound to 127.0.0.1:12345 (localhost).
- Select x64 / Debug to Build

Press Ctrl + F5 to build and execute
Launch Dart-Platform
After running the Docker container, open Dart-Platform.
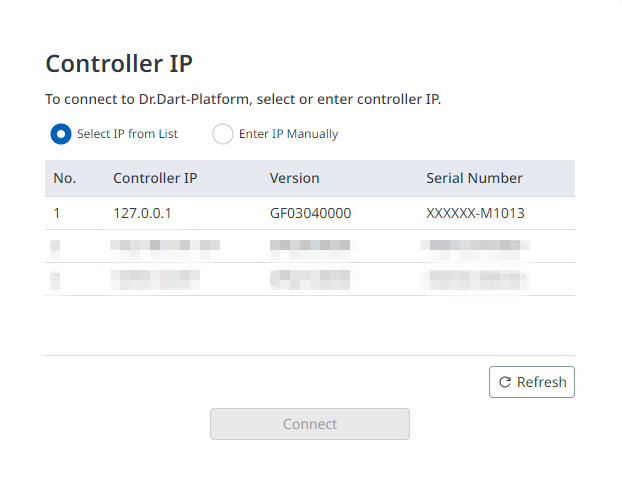
Select the PC’s IP address for connecting to the controller, then click the Connect button.
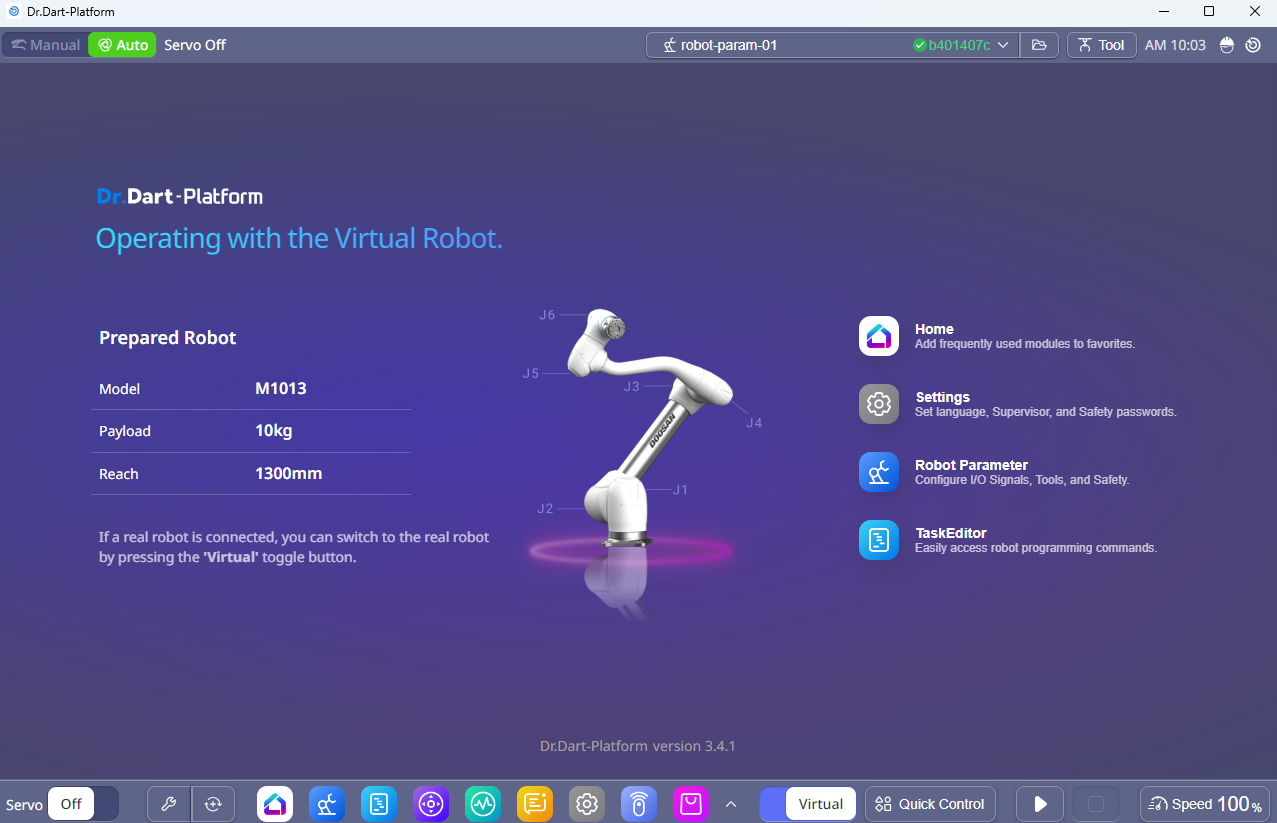
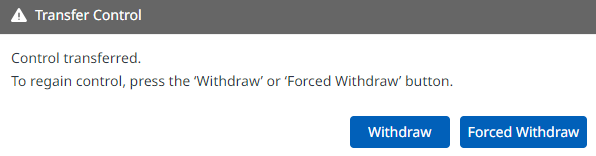
A popup will appear asking to transfer control authority. Simply accept the transfer request, the control will be granted automatically during execution.
After the control is granted, you should see that the API connection establishes successfully and the robot motion starts normally.
Tip
If a “Recall Control” popup appears in Dart-Platform, it indicates that the simulator currently holds the control token. This is normal. You can safely grant control to the API program by accepting the prompt. Once the program starts, you will see motion commands being executed as shown in the simulation.
Launch Dart-Studio
You can also perform the same test using Dart-Studio.
Make sure that the simulator is connected to the same IP address (127.0.0.1)
and that the Dart-Services container is running in Docker.
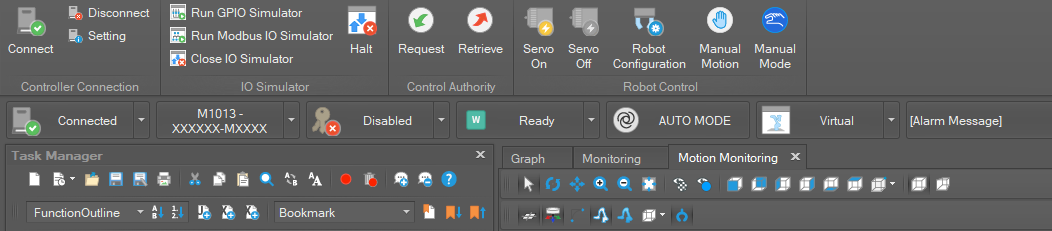
After confirming the connection, build the project again in Visual Studio. The simulation should run successfully, identical to Dart-Platform.
Note
Always ensure Docker is running before opening Dart-Studio or Dart-Platform.
Port
12345/TCPmust remain open for communication.If you encounter a control authority popup, accept it to grant control to the API program.