Devcontainer Installation
This page explains how to set up and use a Dev Container with VS Code. It covers prerequisites, step‑by‑step usage, screenshots (placeholders included), common configuration files, and troubleshooting tips.
Overview
A Dev Container lets you develop inside a Docker container with all tools preinstalled. VS Code connects seamlessly to the container, giving you a reproducible environment for your project.
Quick Start (VS Code)
Install Devcontainer Extensions in vscode

Open your project in VS Code.
cd ros2_ws/src/doosan-robot2
code .
Note
The Open Folder path must be the parent directory of .devcontainer (don’t open the .devcontainer folder itself).
Ensure your repository contains a
.devcontainer/folder with at least:.devcontainer/devcontainer.json(optional)
.devcontainer/Dockerfile

Press F1 (or
Ctrl/Cmd+Shift+P) and run:Dev Containers: Reopen in Container
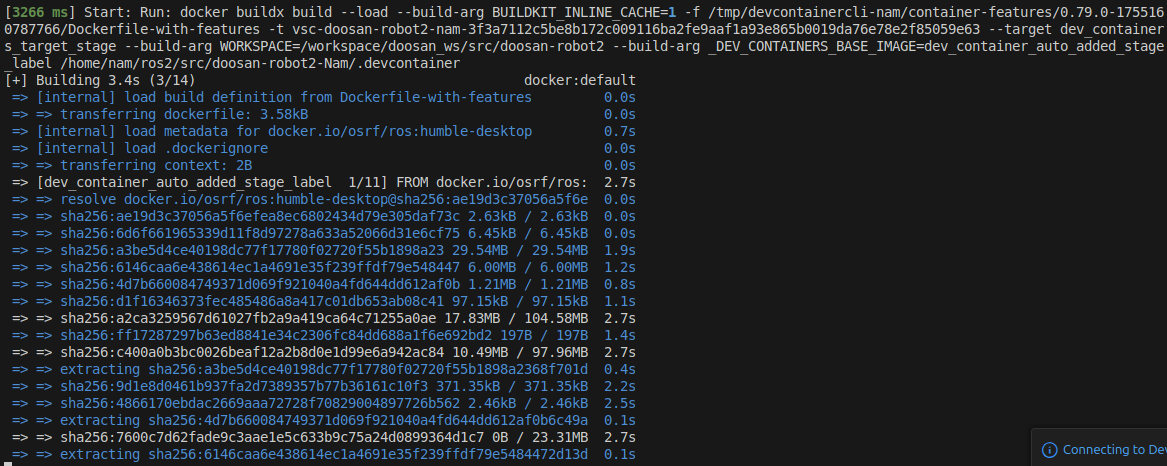
VS Code builds (or pulls) the image and starts the container. The first build can take some time.
GUI Apps on Linux (X11)
Some GUI apps (e.g., RViz2, Gazebo) need X11 access on Linux.
Note
The Gazebo/RViz2 GUI may not appear due to missing X11 permissions (especially when using Docker or a remote session). Run the commands below once per login (and after a reboot) before launching.
xhost + # allow everyone; use only temporarily
These permissions reset after logout or reboot; re-apply as needed.